




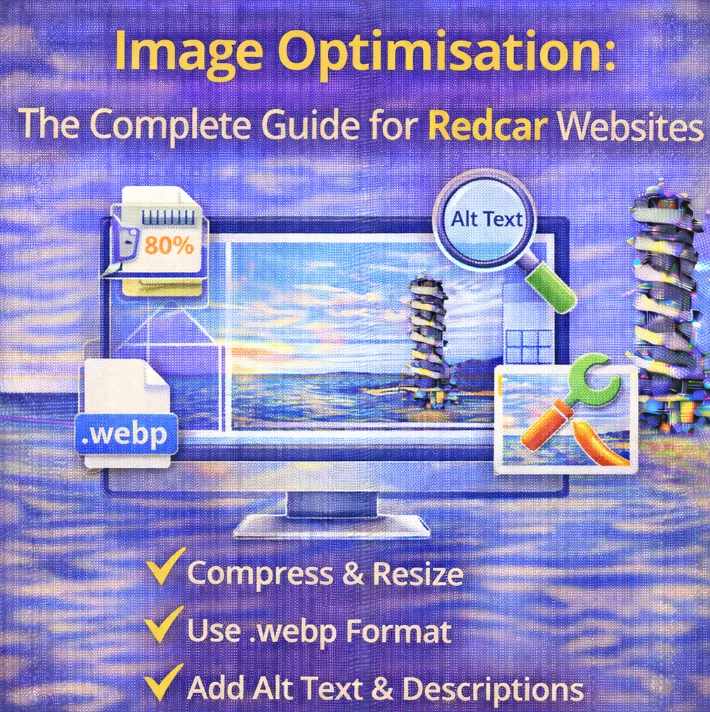
You have built a stunning website. It looks sleek, matches your brand colours, and has all the right information about your services. But there is a problem. It takes forever to load. And when potential customers in Redcar click on your link, they are not sticking around long enough to see what you offer. They are bouncing straight back to Google to find a competitor.
Why is this happening? In many cases, the culprit is unoptimised images.
Giant, high-resolution photos might look fantastic on your desktop monitor, but if they are clogging up your site speed, they are killing your conversions. Image optimisation is one of the most overlooked aspects of local SEO, yet it is one of the easiest ways to improve user experience and rankings.
In this guide, we will break down exactly what image optimisation is, why it matters for your local business, and how you can do it without needing a degree in computer science.
What is Image Optimisation?
At its core, image optimisation is the process of delivering high-quality images in the right format, dimension, and resolution while keeping the smallest possible file size.
It is a balancing act. You want your photos to look crisp and professional to showcase your work, whether you are a baker showing off a wedding cake or a landscaper displaying a newly paved driveway. However, you also need those files to be light enough so that browsers can load them instantly.
But optimisation goes beyond just file size. It also involves:
- Naming your files correctly so Google knows what they are.
- Adding descriptive alternative text (alt text).
- Choosing the right file type (JPEG, PNG, WebP).
- Implementing lazy loading.
When you get this right, you get a faster website and better visibility in Google Image Search.
Why Image Optimisation Matters for Redcar Businesses
You might be thinking, “My internet is fast, the images load fine for me.” That might be true, but not everyone searching for your services has a fibre connection, and many are browsing on 4G while out and about in town.
Here is why you cannot afford to ignore your images.
1. Speed Equals Revenue
Google has stated repeatedly that page speed is a ranking factor. If your site is slow, you will struggle to rank in the top spots for local searches. But more importantly, users hate waiting. Studies show that a one-second delay in page load time can result in a 7% reduction in conversions. If you are selling products or trying to get quote requests, that is money leaving your pocket.
2. Mobile Experience is Everything
Think about how your customers find you. They are likely on their phones, perhaps searching for “plumber near me” or “best cafe in Redcar”. Mobile data connections can be unstable. If your homepage is trying to load a 5MB hero image on a mobile device, that user is going to have a terrible experience. Optimised images ensure your site feels snappy on any device.
3. Google Image Search Traffic
Many local businesses forget about Google Images as a traffic source. If you sell physical products or visual services (like interior design or gardening), people often search by image first. By optimising your filenames and alt text, you can appear in these results, opening up a whole new channel of traffic.
4. Better User Engagement
When images load quickly and look good, people stay on your site longer. Lower bounce rates signal to Google that your website provides value, which can help boost your overall SEO rankings over time.
Choosing the Right File Format
Not all image files are created equal. Using the wrong format is one of the most common mistakes we see on local business websites. Here is a quick breakdown of what to use and when.
JPEG (or JPG)
This is the standard for photographs. It uses “lossy” compression, meaning it removes some data to reduce file size, but usually not enough for the human eye to notice.
- Best for: Photos of your team, your shop front, or your completed projects.
- Avoid for: Logos or graphics with text, as they can look pixelated.
PNG
PNG files support transparency and use “lossless” compression. This means the quality is higher, but the file size is usually much larger than a JPEG.
- Best for: Logos, icons, and graphics with transparent backgrounds.
- Avoid for: Standard photographs, as the file size will be unnecessarily huge.
WebP
This is a modern image format developed by Google. It provides superior compression for images on the web. WebP images are significantly smaller than JPEGs and PNGs, often 25-35% smaller, without losing quality.
- Best for: Almost everything on your website.
- Note: Most modern browsers support WebP, and it is highly recommended for speed.
SVG
Scalable Vector Graphics are code-based images. They can be scaled up to any size without losing quality and are incredibly lightweight.
- Best for: Simple logos and icons.
- Avoid for: Complex photographs.
The Art of Resizing and Compression
There are two steps to reducing file size: resizing dimensions and compressing the data. You need to do both.
Resizing Your Images
A common mistake is uploading a photo straight from a smartphone or DSLR camera. These cameras take photos that are often 4000 pixels wide or more. However, the content area of most websites is rarely wider than 1200 pixels.
If you upload the full-size 4000px image and force the website to display it at 1000px, the browser still has to download the massive original file. This is a waste of data and time.
The Fix: Resize your image to the maximum width it will display on your site before you upload it. If your blog width is 800px, resize your photo to 800px wide.
Compressing Your Images
Once resized, you need to compress the image. This removes hidden data that the browser does not need to display the picture. You can often reduce a file size by 70% or more without seeing a difference in quality.
Tools for Compression:
- TinyPNG / TinyJPG: A fantastic free tool where you drag and drop your images to compress them.
- Squoosh.app: A Google tool that lets you see a side-by-side comparison of quality and file size.
- WordPress Plugins: If you use WordPress, plugins like Smush or ShortPixel can automate this for you.
Mastering File Names and Alt Text
Computers are smart, but they cannot “see” images the way humans do. You have to tell Google what is in the picture. This is where file names and alt text come in.
Descriptive File Names
When you take a photo, your camera probably names it something like “IMG_5823.jpg”. If you upload that to your website, Google has no idea what it is.
Rename your files to describe what is in the image using hyphens between words.
- Bad: IMG_5823.jpg
- Good: roof-repair-redcar-high-street.jpg
- Better: slate-roof-repair-redcar.jpg
This helps Google understand the context of the image and ties it to your location and service pages.
Alt Text (Alternative Text)
Alt text is a short description of the image that sits in the HTML code. It serves two main purposes:
- Accessibility: Screen readers read this text out loud for visually impaired users.
- SEO: It tells search engines what the image represents.
How to write good Alt Text:
Be specific but concise. Imagine you are describing the image to someone over the phone.
- Image: A photo of a mechanic fixing a car engine.
- Bad Alt Text: mechanic
- Okay Alt Text: mechanic fixing car
- Good Alt Text: mechanic repairing ford fiesta engine in Redcar garage
- Spammy Alt Text (Don’t do this): mechanic mechanic redcar car repair cheap mechanic best mechanic redcar
Do not stuff keywords into your alt text. Describe the image naturally, and if a keyword fits, include it.
Implementing Lazy Loading
If you have a long page with lots of images, loading them all at once slows down the initial display of the site. Lazy loading is a technique where images only load when the user scrolls down to them.
This means if a user never scrolls to the bottom of the page, those bottom images are never loaded. This saves bandwidth and makes the top of the page load much faster.
Most modern content management systems (like WordPress) now include native lazy loading by default. If your site is older, you might need a developer or a plugin to enable this feature. It is a simple switch that makes a massive difference to perceived performance.
Creating an Image Sitemap
If your business relies heavily on visuals, you want to ensure Google finds every single image. Sometimes, images loaded via Javascript (like in galleries or sliders) can be missed by Google’s crawlers.
An image sitemap is an XML file that lists all the images on your website. You can submit this to Google Search Console to give the search engine a map to all your visual content. This increases the likelihood of your images appearing in search results.
Yoast SEO and RankMath are popular plugins that automatically add your images to your sitemap, so you often don’t need to do this manually.
Structured Data (Schema Markup) for Images
If you want to get fancy, and you should, you can use structured data to give Google even more information. This is particularly useful for products, recipes, or local business listings.
For example, if you add “Product” schema to a page selling a specific item, you can link the image to that product. This helps Google display rich snippets (like price and availability) alongside the image in search results.
For local businesses, ensure your logo and main business photos are defined in your “LocalBusiness” schema. This helps Google connect your brand imagery with your business profile.
Common Image Optimisation Mistakes to Avoid
Even with the best intentions, it is easy to trip up. Here are the most common pitfalls we see when auditing Redcar websites.
1. Using Images with Text Inside Them
Don’t embed important text inside an image file (like a flyer saved as a JPEG). Google cannot read that text easily, and it becomes unreadable on mobile screens when the image shrinks. Always use real HTML text for headings and paragraphs, and use images for visuals only.
2. Inconsistent Dimensions
If you have a team page, ensure all the headshots are cropped to the same ratio (e.g., square or 4:3). Nothing looks more unprofessional than a grid of images where every photo is a different size and shape. It makes the layout jump around and looks messy.
3. Ignoring Thumbnails
E-commerce sites often generate thumbnails for category pages. Ensure these thumbnails are actually small files. We often see sites where the “thumbnail” is just the full-size image scaled down by code. This creates pages that are incredibly heavy and slow to load.
4. Over-Optimisation
Yes, you can compress an image too much. If you reduce the quality to 10%, the image will look grainy, blurry, and awful. You need to find the “sweet spot” where the file is small but the image still looks sharp. Usually, a quality setting of 70-80% is perfect for JPEGs.
A Step-by-Step Workflow for Redcar Business Owners
Let us put this all together into a simple workflow you can use every time you add a new photo to your site.
- Select the Right Image: Choose a high-quality photo that is relevant to your content.
- Rename the File: Change “DSC_001.jpg” to something descriptive like “commercial-cleaning-redcar-office.jpg”.
- Resize the Image: Open it in an editor (even Paint or Preview works) and resize the width to match your website’s content width (usually around 1200px or 800px).
- Compress the File: Drop the resized image into TinyPNG or use Squoosh.app to reduce the file size. Aim for under 100KB for large images, and under 30KB for smaller ones.
- Upload to Website: Add it to your media library.
- Add Alt Text: Immediately type in a descriptive alt text string before you insert it into the page.
- Check the Page: Preview your page to ensure the image looks good and loads quickly.
Tools of the Trade
You do not need expensive software like Photoshop to win at image optimisation. Here is a toolkit for the budget-conscious business owner:
- Canva: Great for resizing and creating graphics. It also lets you download in WebP format.
- TinyPNG: The gold standard for quick, easy compression.
- GIMP: A free, open-source alternative to Photoshop if you need advanced editing.
- Google PageSpeed Insights: Use this to test your website. It will tell you specifically which images are slowing you down and how much space you could save by optimising them.
Conclusion
Image optimisation might sound technical, but it is really just about good housekeeping. It is about respecting your customer’s time by making sure your digital shop front loads instantly.
For a local business in Redcar, where competition can be fierce, these small technical wins add up. A faster site means better rankings, happier visitors, and ultimately, more enquiries.
Start small. You do not need to go back and fix every single image on your website tonight. Start with your homepage and your most popular service pages. Fix the heavy headers and the uncompressed gallery photos. You will likely see an immediate improvement in your speed scores.
If you are unsure where to start or if your website feels sluggish no matter what you do, it might be time for a professional audit. We can take a look under the hood and identify exactly what is holding your site back.
Remember, in the world of SEO, every kilobyte counts. Make yours work for you.